Gas pipeline installation is crucial for safely delivering gas to homes and commercial buildings. Whether you’re renovating, building a new home, or switching to gas, understanding the installation process can help you make informed decisions. In this guide, we’ll walk you through each step to ensure a seamless and secure installation.
1. Initial Assessment and Planning
Site Inspection: The first step involves a professional assessment of your home or site. Technicians will evaluate factors such as your gas needs, current infrastructure, and possible challenges (e.g., accessibility or existing pipelines).
Designing the System: Based on the inspection, engineers will draft a blueprint. This includes selecting pipe routes, determining safety measures, and choosing the right materials.
Cost Estimate: You'll receive a detailed cost breakdown for installation, labor, and materials, including permits and inspections.
Tip: Choose a reputable company with certified professionals to ensure a safe design.
2. Obtaining Necessary Permits
Regulatory Compliance: Before any work begins, local regulations require obtaining permits. These ensure your installation complies with building and safety codes. The gas company or contractor typically handles this process.
Scheduling Inspections: Authorities will conduct inspections during and after the installation to ensure compliance and safety.
Note: Permits are vital for legality and future property resale value.
3. Materials Selection
Types of Pipes: Common options include copper, stainless steel, and polyethylene pipes. The choice depends on factors like the gas type (natural gas or LPG), weather conditions, and installation location (indoors or outdoors).
Fittings and Valves: Along with pipes, quality valves, connectors, and fittings are chosen for seamless integration. Safety shut-off valves are crucial.
Tip: High-quality materials may have higher upfront costs but provide long-term reliability.
4. Installing the Gas Pipeline
Trenching or Wall Chasing: For underground installations, a trench is dug to lay the pipes. For indoor installations, wall chasing creates a pathway for the pipes.
Pipe Laying: Pipes are cut, fitted, and securely fastened along the designated path. For underground installations, corrosion-resistant materials are used.
Joining and Sealing: Professionals will join the pipes using various methods such as welding, flaring, or compression fittings, ensuring no leaks.
Pressure Testing: The installed pipeline is tested by filling it with air or nitrogen under pressure to check for leaks. This is a critical safety step.
Professionalism is key in this stage, as improper installation can lead to gas leaks and other hazards.
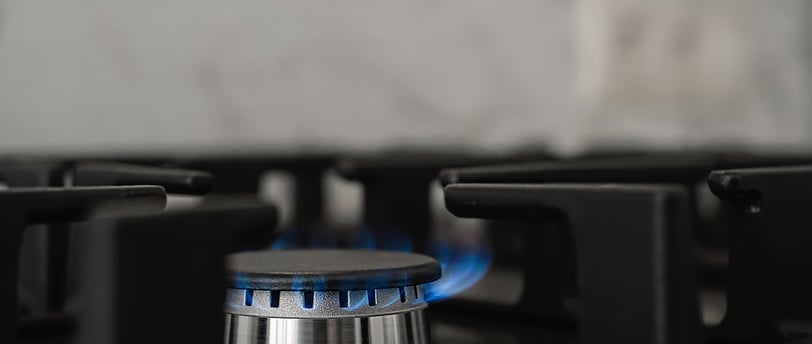
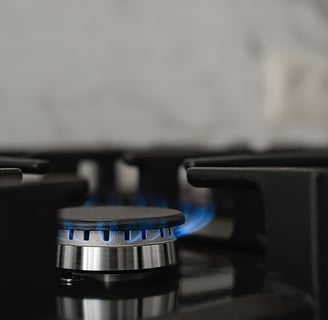
5. Connecting to Appliances
Hooking Up Appliances: After the pipeline is secure, the next step is to connect gas appliances like stoves, heaters, or water boilers. This includes installing gas regulators to manage pressure.
Safety Checks: Technicians ensure that all appliances are connected securely, and no leaks are detected. All connections undergo additional testing.
Tip: Consider installing a gas detector for an extra layer of safety.
6. Final Inspection and Certification
Inspection by Authorities: After the installation, a final inspection is conducted by a certified authority. They will verify that the system meets all safety and operational standards.
Issuance of Safety Certificate: Once approved, a safety certificate is issued, indicating that your gas pipeline system is safe for use.
Note: Keep this certificate for future reference, especially when selling the property.
7. Post-Installation Care and Maintenance
Regular Inspections: Even after installation, regular maintenance and inspections are important to ensure the system remains in good condition. This includes checking for wear and tear, and ensuring that pipes are free from obstructions.
Monitoring for Leaks: Pay attention to any unusual gas smells or hissing sounds, which may indicate leaks. Install carbon monoxide detectors for added protection.
Pro Tip: Schedule annual check-ups with your gas service provider to avoid any future problems.
Conclusion
Gas pipeline installation is a complex process that requires careful planning, skilled professionals, and adherence to safety regulations. By following these steps, you can ensure that your gas installation is both efficient and safe, providing you with the comfort and reliability of a gas-powered home.